CRE marketing guide
Commercial real estate listing photo checklist
A shot list for industrial, retail, office and land listings: exteriors, aerials, interiors and details, plus how to edit them honestly for a brochure.
Why photos decide how a listing is read
In a brochure or offering memorandum, the photos are read before a single word. A sharp, well-lit cover image tells a buyer the listing is well prepared; a dark, crooked phone photo tells them the opposite, regardless of the property. Photos also answer practical questions faster than text: how many doors, how much yard, what the frontage looks like, what is next door.
You do not always need a professional photographer, but you do need a plan. This checklist covers what to capture for the common property types and how to prepare the images for print and screen.
Before the shoot
- Check the weather and the sun. Exteriors look best with the sun behind the camera, so plan which side of the building you will shoot at which time of day.
- Ask the owner or tenant to clear the loading area, move vehicles from the frontage and tidy the reception and washrooms.
- Confirm what you are allowed to photograph in occupied space; some tenants will not allow interior photos of their operations.
- Bring a list of the specific features the listing will claim (clear height, doors, power, yard), so each one has a photo.
- If you plan drone photos, check the rules first (see below).
Exterior shot list
Exteriors carry the cover and the first pages, so take more than you think you need:
- The main elevation, straight on, and a three-quarter view from each front corner.
- The approach from the main road, showing how the property is seen when arriving.
- Signage and the address, if they help a buyer find and recognise the building.
- Parking and the yard, showing its surface and its size relative to the building.
- The shipping side: truck-level and drive-in doors, with a truck or trailer for scale if possible.
- Any notable features: a newer roof, an addition, outside storage, a rail spur.
Shoot with the camera level so vertical lines stay vertical. If the building is large, step back and use a moderate wide angle rather than the widest lens, which bends the edges of the frame.
Aerial and drone photos
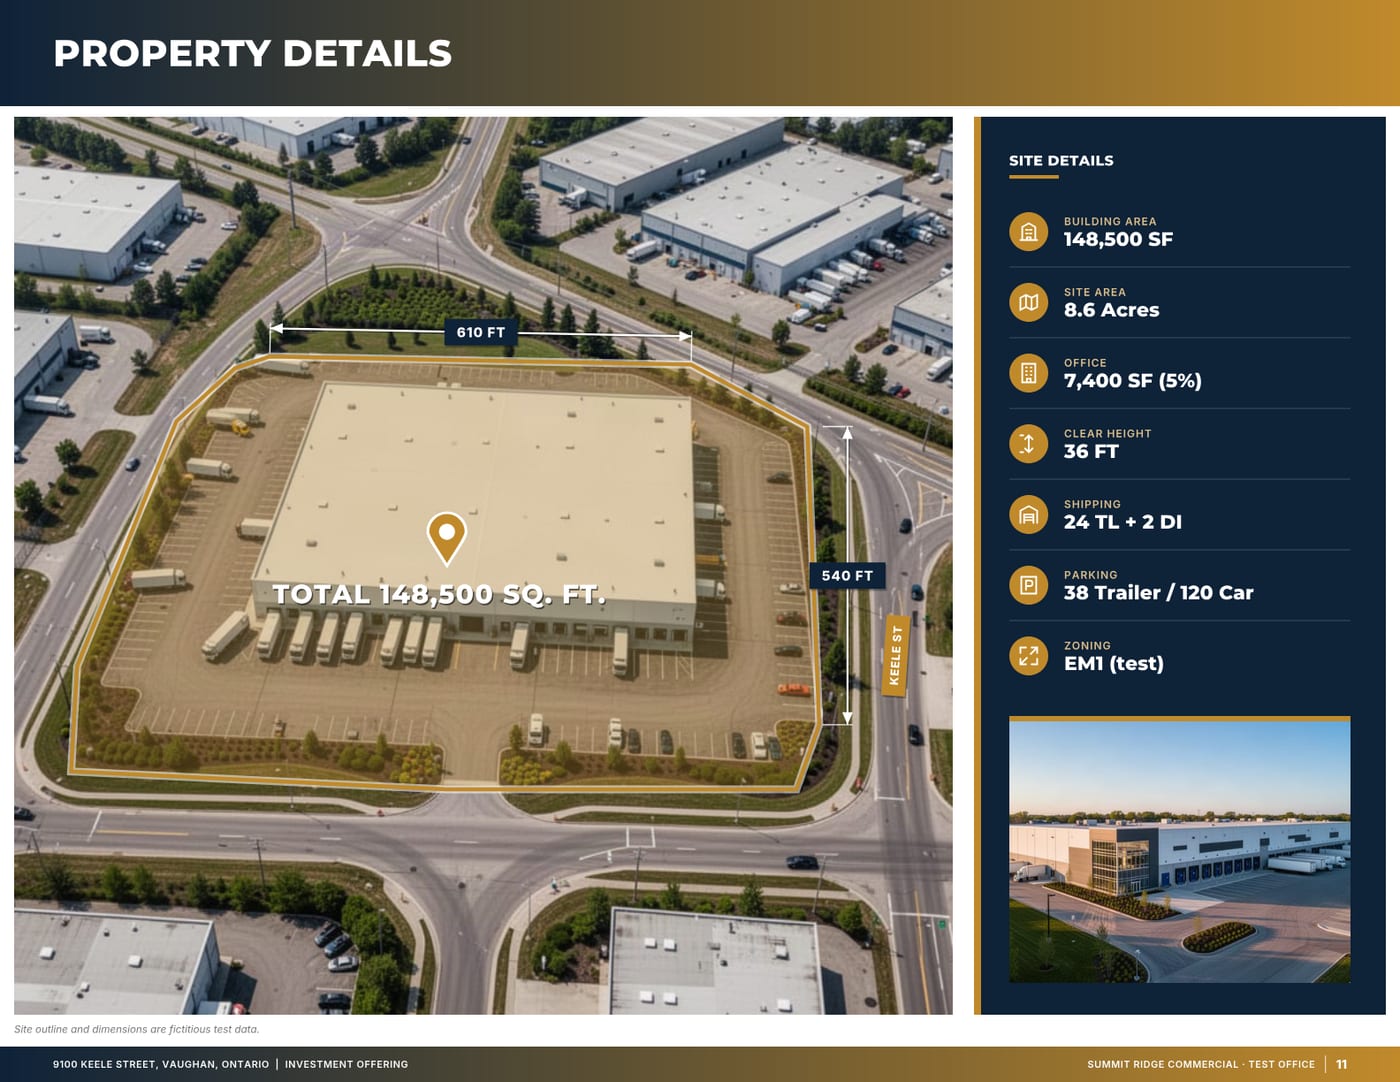
For industrial, land and larger retail properties, the aerial is often the most important image in the document. An oblique aerial, taken at an angle rather than straight down, shows the building, the yard and the surroundings together, and it is the image you will later annotate with the parcel outline, roads and neighbours.
In Canada, drone flights are regulated by Transport Canada. Most drones used for real estate need to be registered and flown by a certified pilot, and some locations (near airports, over people, in controlled airspace) need an advanced certificate or are off-limits. Check the current rules or hire an operator who handles them. A straight-down satellite image is a fine fallback for context maps, but credit its source.
- One oblique view from each side that shows the whole site.
- A higher view showing the property in its neighbourhood and its route to the highway.
- A straight-down view if you need to show the site boundary precisely.
Interior shot list
- Industrial: the warehouse from a corner, showing clear height and column spacing; the dock doors from inside; the office and the shop floor transition; the electrical room or panel if power is a selling point; sprinklers and lighting.
- Office: reception, a typical open area, a boardroom, a private office, the kitchen and any amenity space; views from the windows if they are a feature.
- Retail: the storefront from the sidewalk, the open sales floor, the rear receiving area and the washrooms.
- Vacant units: shoot them empty and clean, with lights on; empty space reads larger.
Turn on every light, open blinds and shoot from a corner at about chest height. Avoid people in the frame unless you have their permission.
Land and development sites
Vacant land is hard to photograph because there is little to point the camera at. Capture the frontage from each road, each access point, the view across the site from several corners, and anything that affects development: a watercourse, a hydro corridor, a slope, existing structures. The aerial does most of the work, so plan it carefully.
Editing: correct, never alter
Editing should make a photo look like the property did on a good day, not like a different property. Straightening verticals, correcting colour and exposure, and removing lens distortion are fine. Adding a blue sky to an overcast shot is common, but think about whether it misleads. Removing cracks, stains, neighbouring buildings, overhead wires or anything a buyer would see on a visit is not acceptable.
In Ontario, advertising by real estate registrants must not be misleading, and that includes images. If you are unsure whether an edit crosses the line, ask whether a buyer touring the property would feel misled. Keep the unedited originals.
Resolution and file preparation
Print needs more pixels than a screen. A full-page photo in a letter or tabloid-size brochure needs a large original; images saved from websites or messaging apps are usually far too small and print soft. Keep the original files from the camera or phone, including HEIC files from iPhones, and let the layout tool scale them down.
- Use the largest original file you have; never upscale a small image to make it look larger.
- Name files by what they show (north-elevation, dock-doors), so captions are easy to write.
- Write a short, factual caption for each photo you plan to use.
- Remove near-duplicates; pick the single best version of each view.
Shooting with a phone
A recent phone can produce photos good enough for a brochure if you work around its limits. Clean the lens, turn off any beauty or portrait filters, and use the main camera rather than the ultra-wide for exteriors, because the ultra-wide stretches the corners. Hold the phone level and in landscape orientation for almost everything: brochure and OM pages are mostly landscape, and a vertical photo leaves awkward gaps. Take several frames of each view and keep the sharpest. In dim interiors, brace the phone against a wall or use a small tripod rather than relying on night mode, which can smear fine detail like racking and signage.
Ordering photos in the document
Sequence the photos the way a buyer would experience the property: the arrival and main elevation first, then the yard and shipping, then the interiors, then the surroundings. Put the single strongest image on the cover and avoid reusing it inside. Group related shots on one page (for example, three views of the shipping area) so each page has a clear subject, and caption each one with what it shows rather than adjectives.
Photo checklist
- Cover candidate: a strong exterior or oblique aerial, sharp and level.
- Every claimed feature (doors, height, yard, power) has a photo.
- At least one image shows the property in its surroundings.
- Drone flights complied with the current rules.
- Edits limited to colour, exposure and geometry; originals kept.
- Full-resolution originals, not screenshots or images saved from the web.
- Each chosen photo has a short factual caption.
How OfferingStack helps
OfferingStack accepts full-size photos from phones, cameras and drones, including HEIC. It applies colour and exposure correction only, never alters what the property looks like, and warns when a photo is too small to print sharply. Captions you add appear as labels on the photo pages, and the layouts adapt to the number of good photos you have instead of leaving empty frames.
What these pages look like
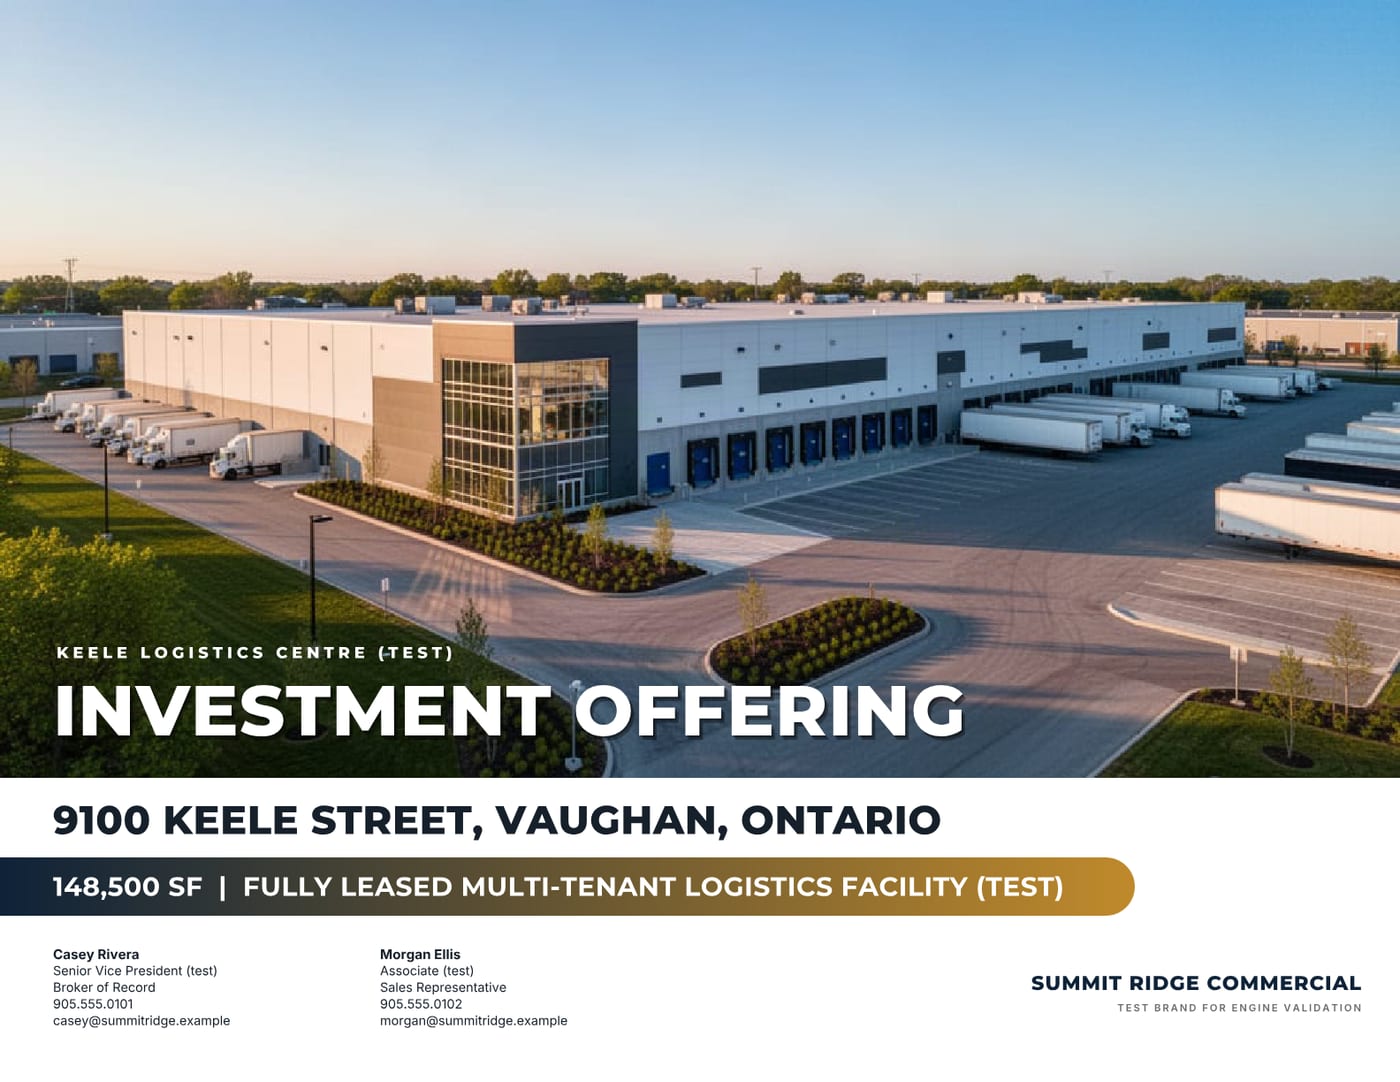
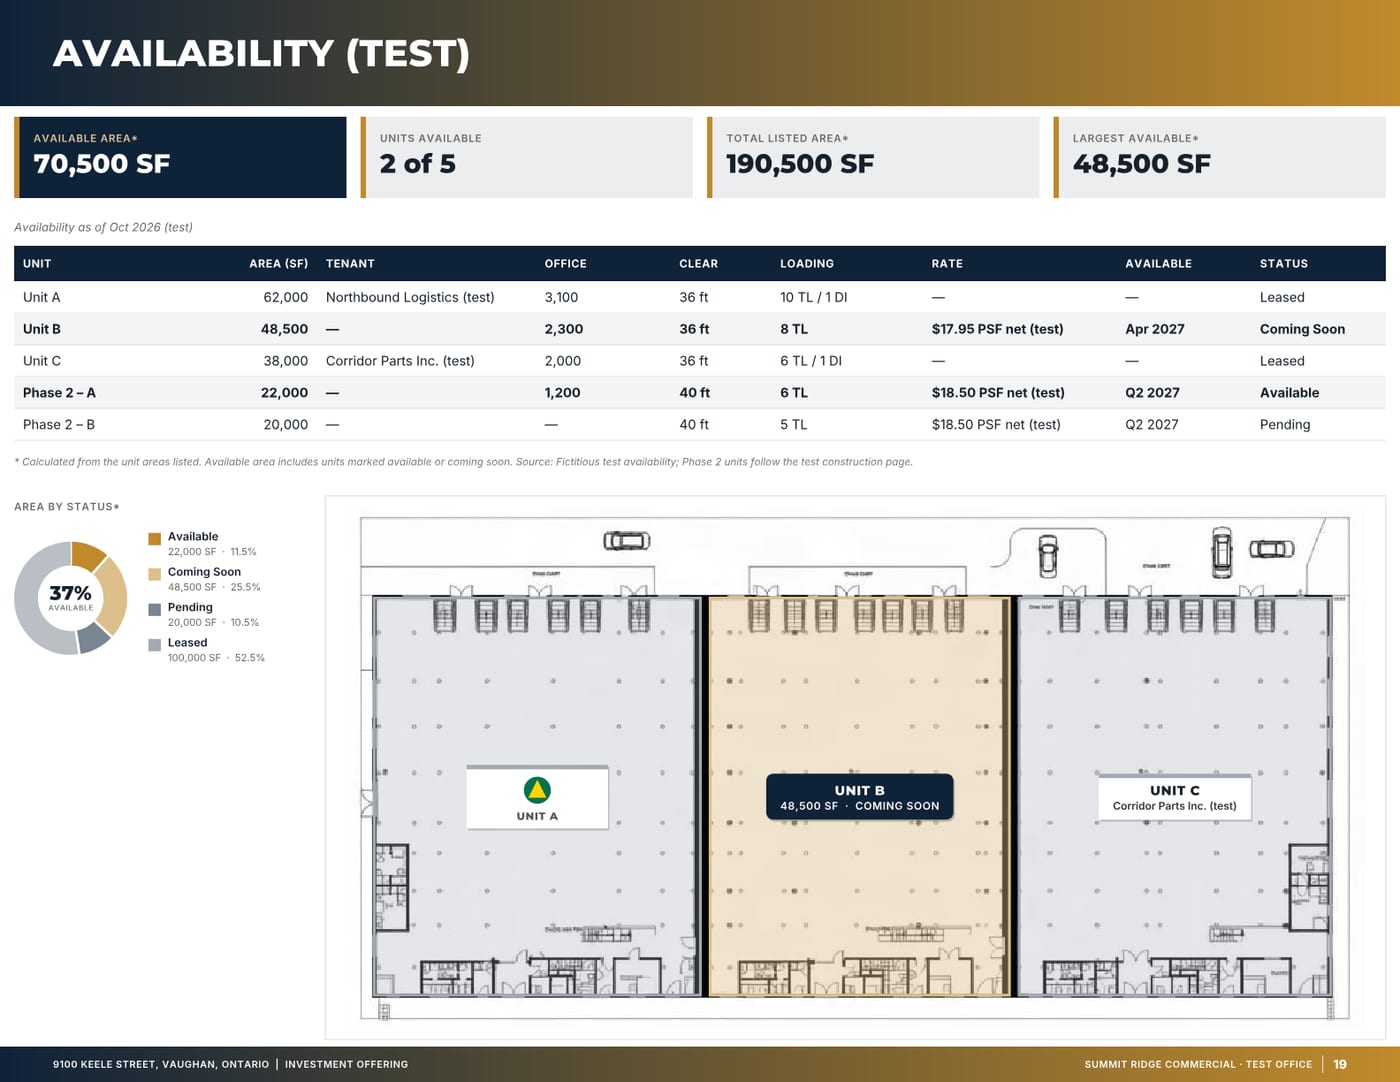
Sample pages are generated by the product from a fictitious test listing (9100 Keele Street, "Summit Ridge Commercial" test brand). Figures marked (test) are not real.
Related
Last updated 2026-10-14. General information for commercial real estate professionals, not legal advice.
Start with the fact sheet you already have.
Upload it, answer only what’s missing for the output you choose, and review a watermarked preview before you buy anything.