CRE marketing guide
Commercial property tours: a listing broker’s checklist before, during and after the showing
How to prepare and run a commercial property tour: access, route, what to bring, safety, and the follow-up that turns a visit into an offer.
Why the tour decides more deals than the brochure
Marketing gets a buyer or tenant to the door; the tour is where they decide whether the property matches what they read. Most of the questions that kill a deal later (a lower clear height than expected, a loading area that does not suit their trucks, a suite darker than the photos suggested, a roof that is clearly near the end of its life) come up on site. A well-prepared tour surfaces them early and honestly, which saves both sides time and keeps the visitors who remain serious.
The goal is not to show everything in the best light. It is to let the visitor confirm the facts in the marketing material, see the property in the order that answers their questions, and leave with what they need to make a decision.
Before the tour: access, people and paperwork
- Confirm access with the owner or property manager in writing: date, time, which areas may be entered, and whether occupied areas need the tenants’ notice under their leases.
- Check who needs to be there: the property manager or building operator for mechanical rooms and roofs, and a site contact for industrial areas where equipment is running.
- Ask the visitors who is coming and what they need to see. A user’s operations manager wants the loading, power and floor; an investor’s analyst wants the building systems and the vacant suites; a lender’s inspector wants the roof and mechanical rooms.
- Make sure a confidentiality agreement is signed first if the listing requires one, and know what may be said about tenants, rents and the reason for sale.
- Walk the route yourself beforehand. Unlock doors, turn on lights, open the dock doors you want to show, and remove anything that should not be in photos visitors may take.
What to have in hand
Visitors remember what they can carry away. Bring printed copies of a one-page tear sheet or the availability sheet, a current floor plan or site plan with the route marked, and the key figures they will want to check on site: areas, clear height, door counts, power, ceiling heights, parking. Carry the dated measurement basis for the areas, since visitors often ask how a figure was measured.
Bring a tape measure or laser measure for industrial and retail space, and know where the electrical service, sprinkler riser and main shut-offs are. If a figure in the marketing material is challenged on site, note it and confirm it afterwards in writing rather than guessing.
Plan the route around the visitor’s questions
Start where the visitor will arrive in daily use: the main entrance and lobby for an office tenant, the truck court and loading for an industrial user, the storefront and parking field for a retailer, the frontage and access points for a land buyer. Then follow the way the space works: for a warehouse, from the docks across the floor to the office; for an office, from the elevator lobby through the suite to the window line.
- Industrial: truck court depth and turning room, dock and drive-in doors, levellers, clear height at the lowest point, column spacing, floor condition, lighting, sprinklers, electrical room, yard and trailer parking.
- Office: lobby and elevators, washrooms, the suite’s natural light and views, existing fit-out, ceiling height, HVAC zoning, telecom room, parking and transit route.
- Retail: visibility from the road, signage positions, storefront width, rear access and loading, washrooms, utilities, the co-tenants and the parking field.
- Land: frontage, entrances, grades, drainage, existing structures, neighbouring uses and the servicing at the lot line.
- Investment properties: the vacant suites, the building systems with their ages, the roof, and the common areas tenants judge the building on.
Keep the walk to the time agreed, and leave room for the questions that matter to that visitor rather than a fixed script.
Safety and conduct on site
Commercial properties have hazards residential showings do not: moving forklifts, open docks, roofs, mezzanines and live equipment. Follow the site’s safety rules, provide or ask visitors to bring safety footwear and high-visibility vests where the site requires them, and never take visitors onto roofs or into restricted areas without the operator’s permission and escort. In occupied buildings, respect tenants’ privacy and operations: do not open closed offices, photograph employees or discuss a tenant’s business in front of its staff.
Second visits, consultants and remote viewers
Serious buyers and tenants usually come back with their own people: an architect or contractor to price the fit-out, an engineer to look at the structure and systems, an environmental consultant, or a lender’s inspector. Treat these visits as part of due diligence rather than marketing. Agree the scope in advance, arrange access to roofs, mechanical rooms and any areas that need the operator, and keep the owner informed of who is attending and why.
Some decision-makers will never visit in person before the offer, especially when the buyer or the tenant’s head office is in another city. A short recorded walk-through following the same route as the live tour, current photos and an accurate floor plan let them see what their local team saw. Record only what the owner has approved and what tenants have agreed to, and keep the recording consistent with the facts in the brochure.
After the tour: follow up within a day
The day after the tour is when a visitor is comparing your property with the others they saw. Send a short email that thanks them, answers every question you took away with a source, attaches anything you promised (a floor plan, the availability sheet, a link to the data room), and proposes the next step: a second visit with their consultants, a call with the owner, or the timetable for offers or a letter of intent.
Keep a simple tour log for the owner: who visited, what they focused on, their concerns and their next step. Recurring concerns are useful feedback for the marketing itself; if several visitors are surprised by the same fact, the brochure or listing description should say it more clearly.
Canada and the United States
The practice is the same on both sides of the border, but the rules around representation, disclosure and advertising are set by each province and state. Follow your brokerage’s policies and your regulator’s guidance on what you may say about the property and other parties, how you disclose who you represent, and how offers are presented. When in doubt, put the answer in writing after the tour instead of on the spot.
How OfferingStack helps with tours
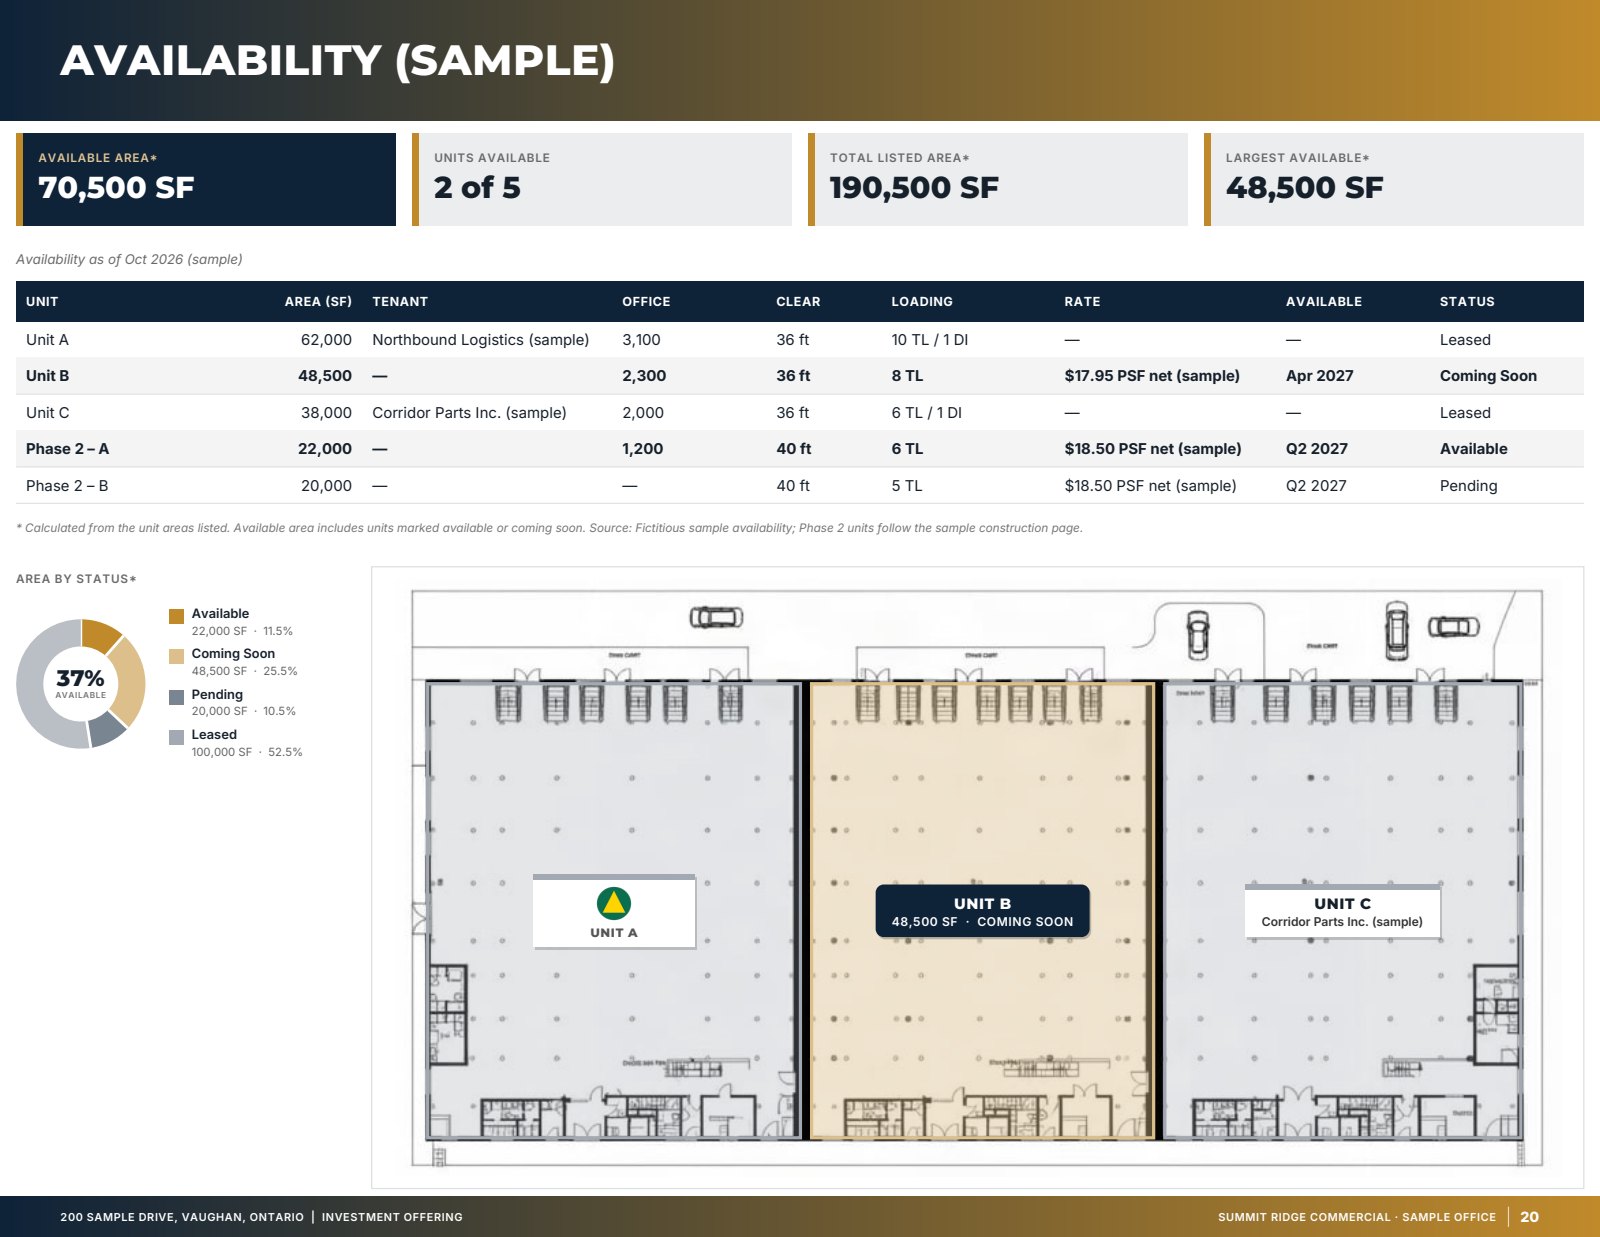
OfferingStack builds the printed pieces a tour needs from the same property file as the brochure and the full OM: a 1-page tear sheet or lease availability sheet, which can be made in Letter portrait for handing out, and floor plan, site plan and availability pages when you have that data. Because every document comes from one file, the figures visitors check on site match the marketing they read. You review every page before it goes out.
Tour checklist
- Access confirmed in writing; tenants notified where leases require it.
- Confidentiality agreement signed if required; disclosure limits known.
- Route walked in advance; lights on, doors open, areas tidy.
- Tear sheet, floor or site plan and key figures printed.
- Measuring tool and the measurement basis for every area.
- Safety rules, footwear and escort arranged for industrial areas and roofs.
- Questions logged and answered in writing within a day.
- Tour log shared with the owner; marketing adjusted for recurring concerns.
This guide is general information, not legal or safety advice. Follow the site operator’s safety rules and your regulator’s requirements.
What these pages look like
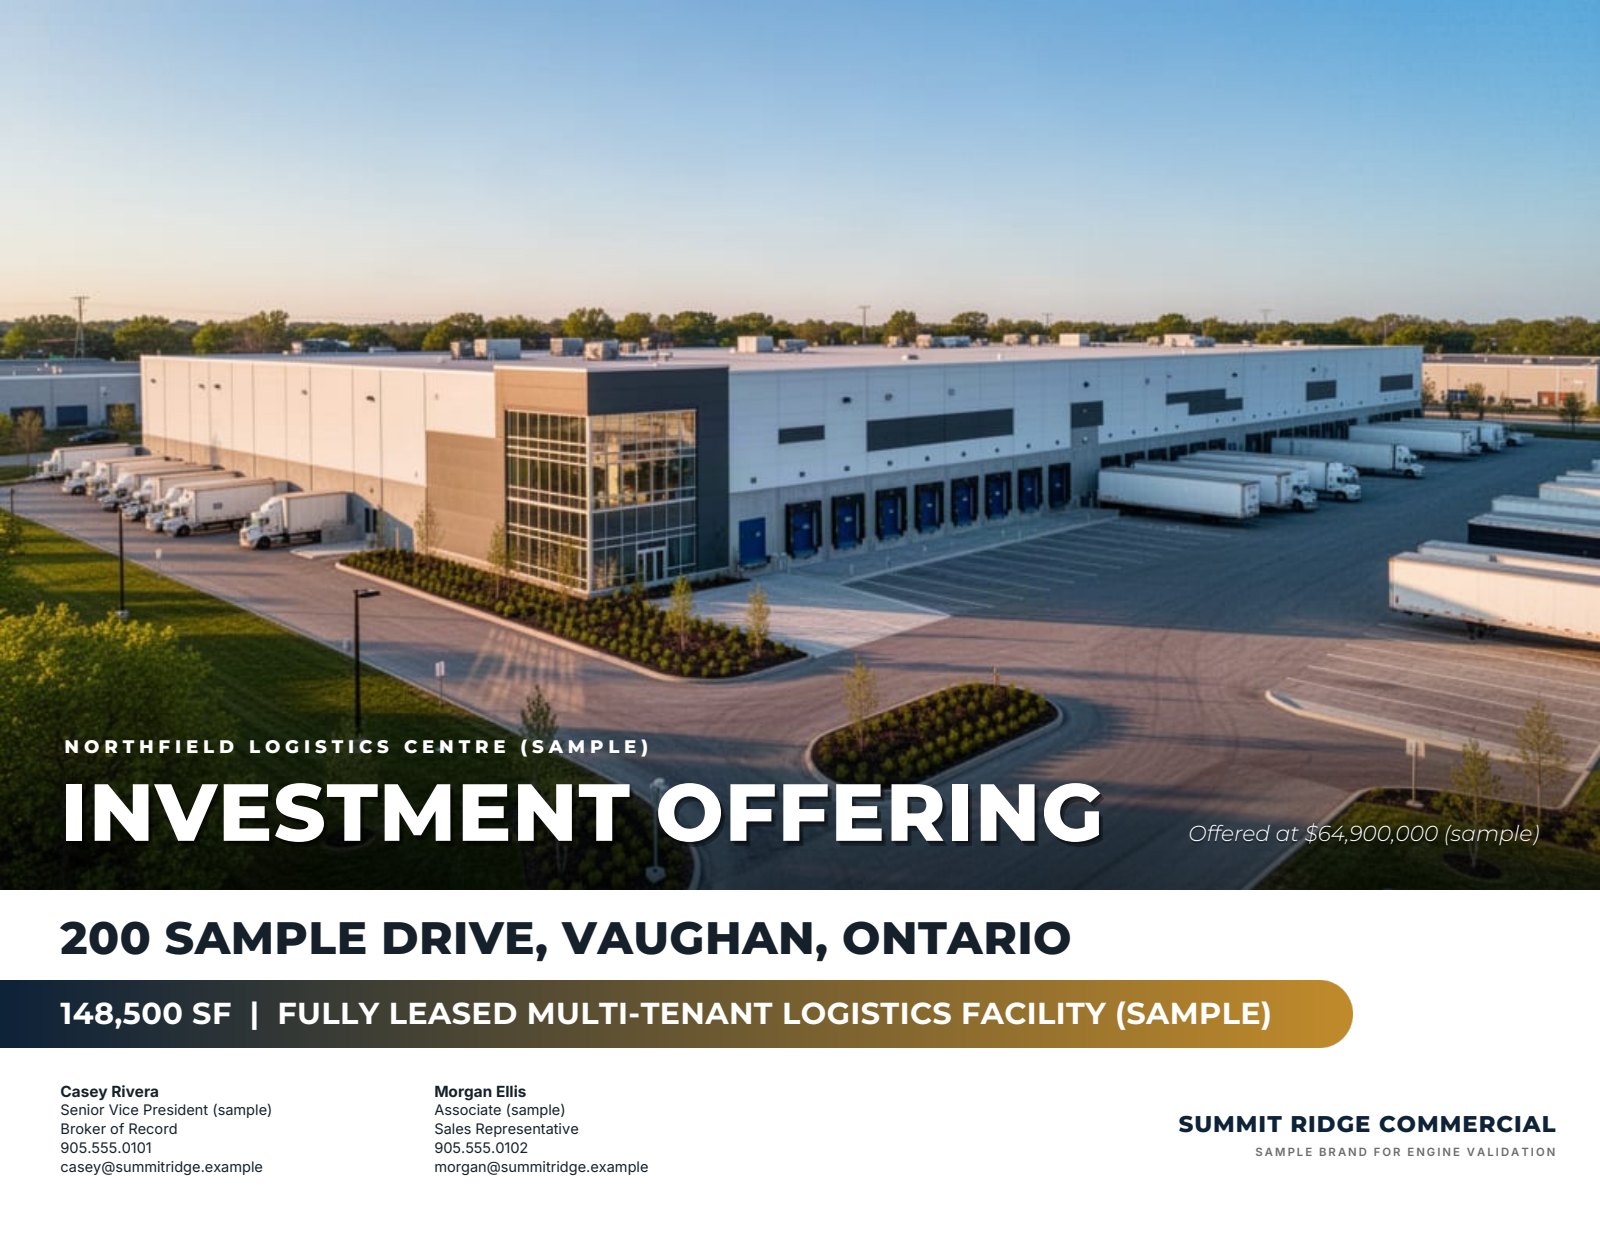
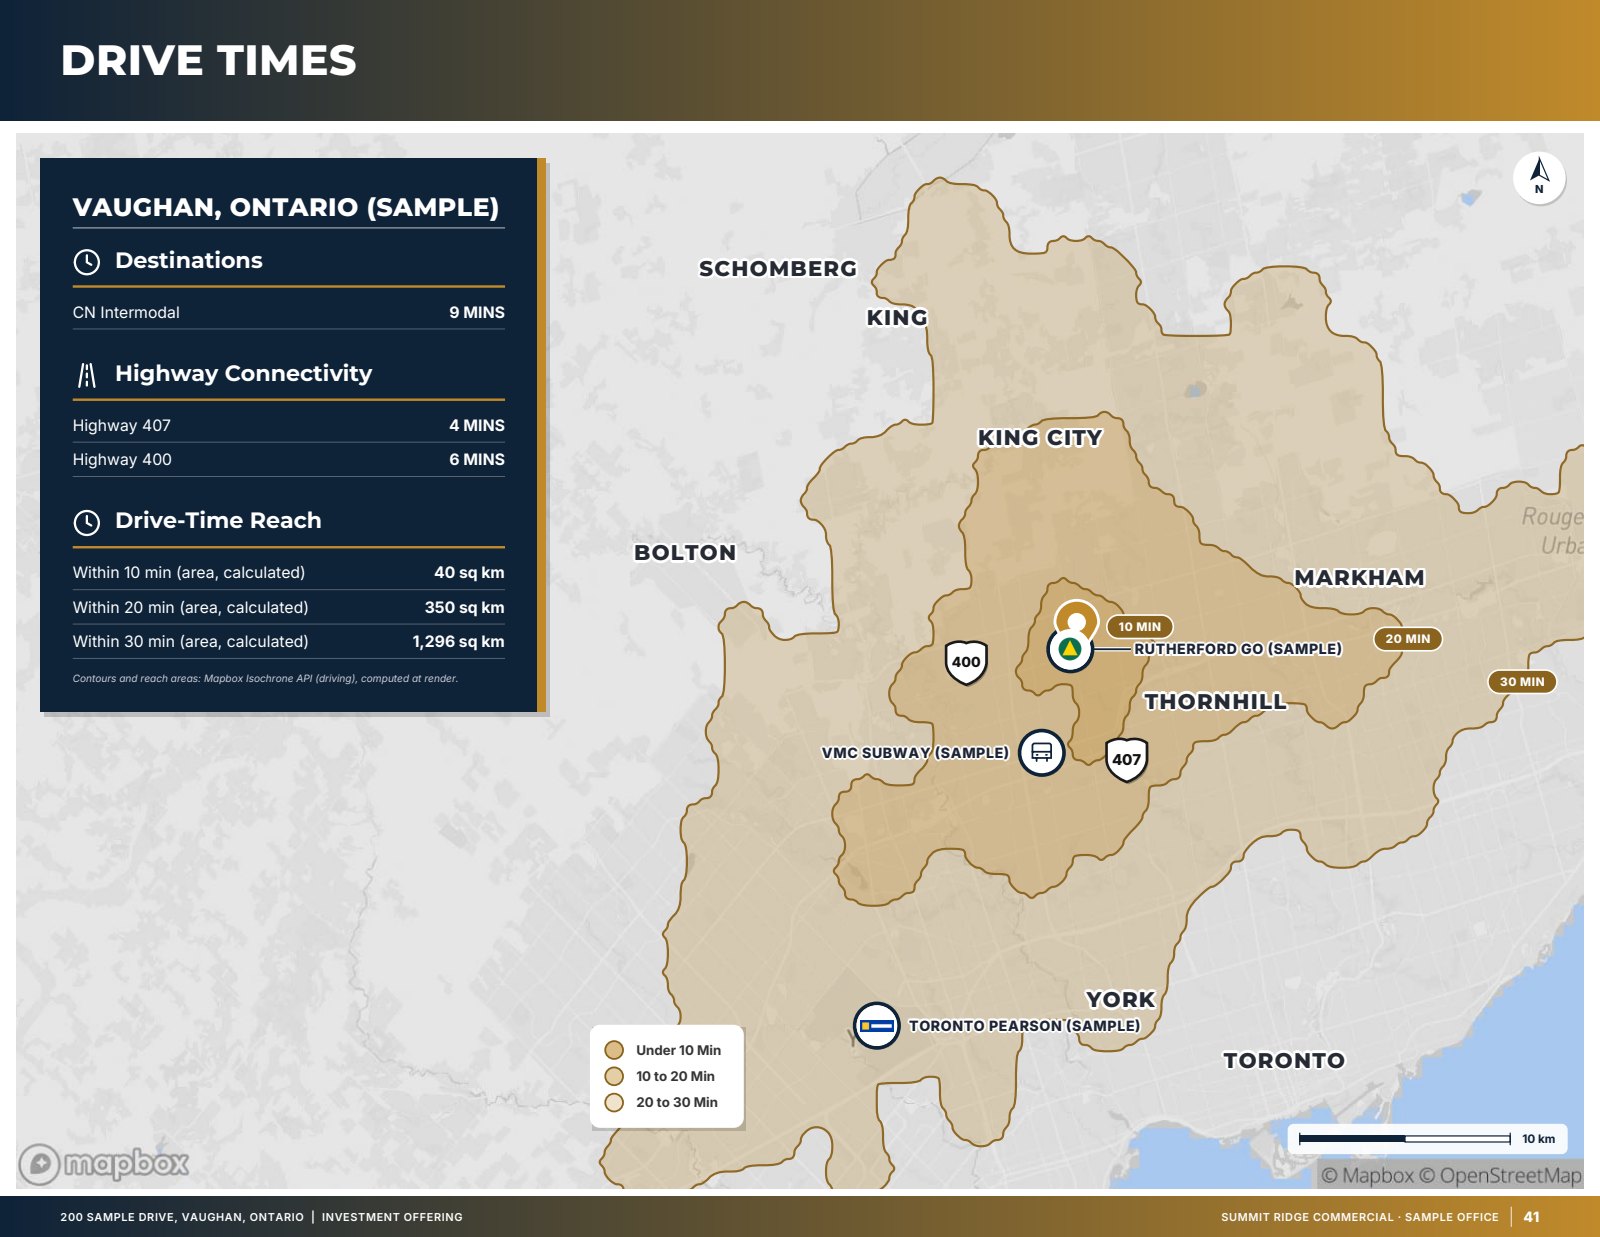
Sample — fictitious property. Pages generated by the product for an invented sample listing with an invented brokerage brand. Figures marked (sample) are not real.
Related
Last updated 2026-10-15. General information for commercial real estate professionals, not legal advice.
Start with the fact sheet you already have.
Upload it, answer only what’s missing for the output you choose, and review a watermarked preview before you buy anything.